 CALL FOR PRICES TOO LOW TO PUBLISH
WE'LL WORK OUT A PRICE THAT MEETS YOUR BUDGET
Call 9 AM - 9 PM - ET - 7 Days a Week
1-888-899-8493
"We ship to all 50 states - Dependable Fast Service since 1976"
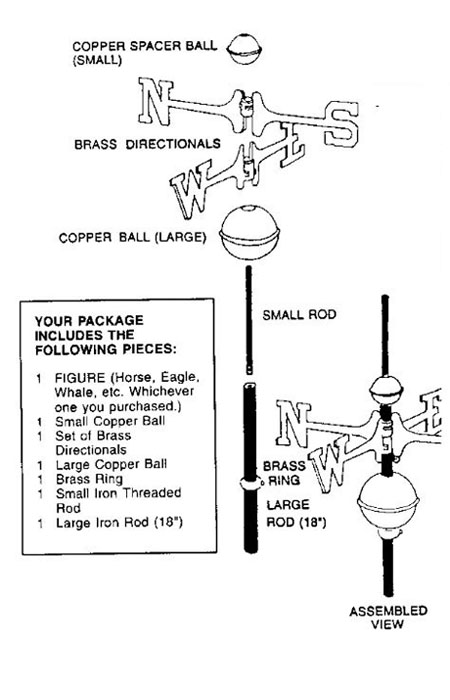
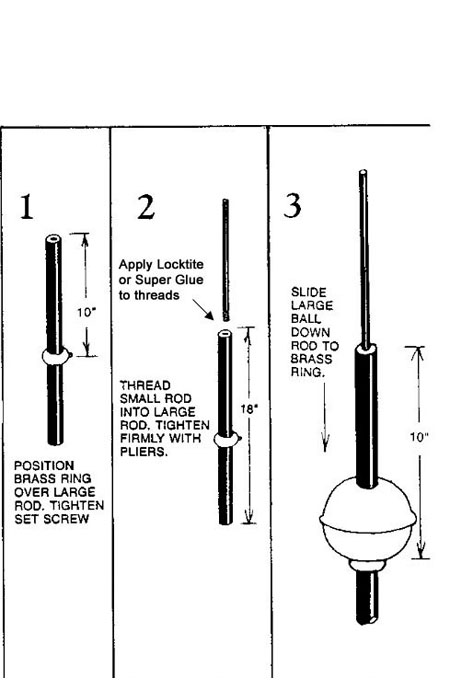
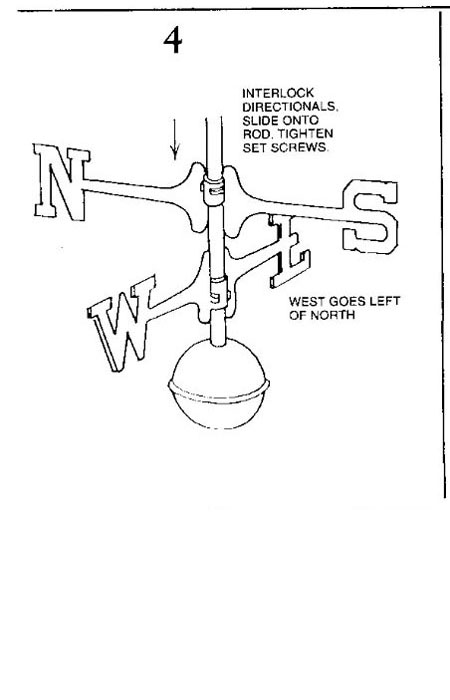
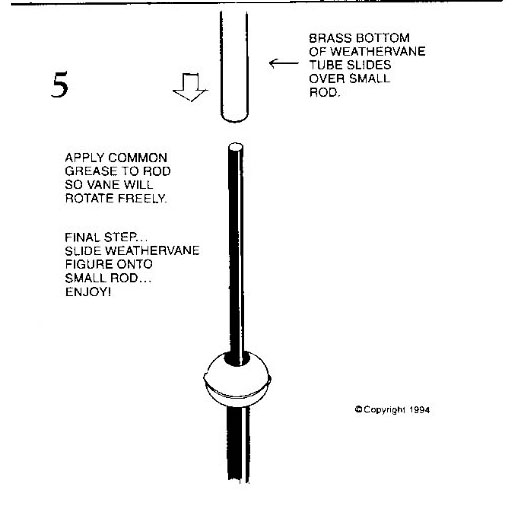
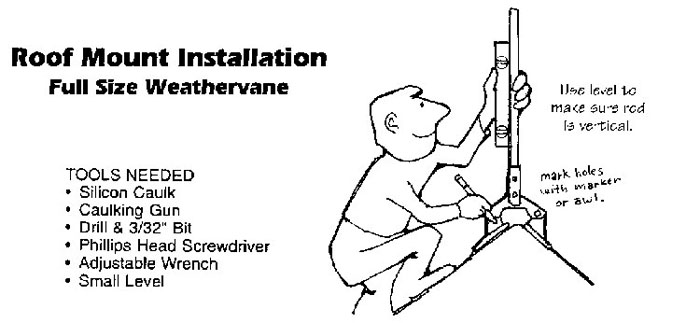
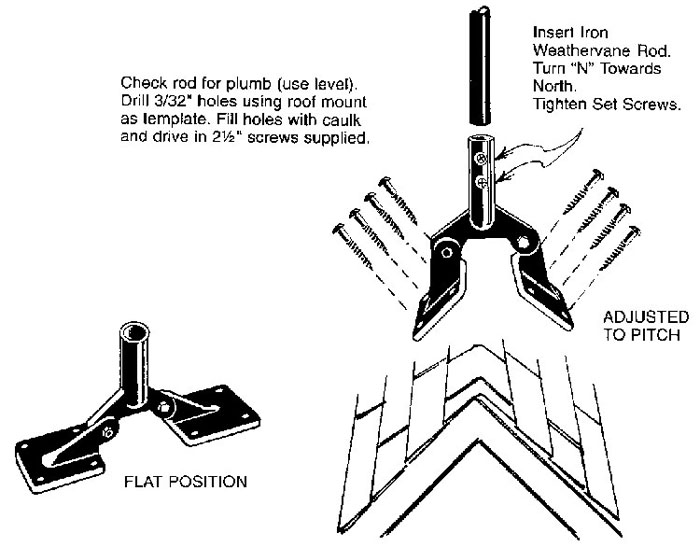
Weathervane Installation Instructions
Assembly Instructions
Full Size Weathervane
(Without Retaining Hook)
Roofmount Method
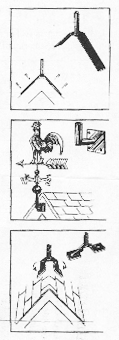
NOTE: Roof mounts are not included with Weathervanes and must be ordered separately.
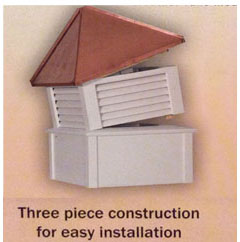
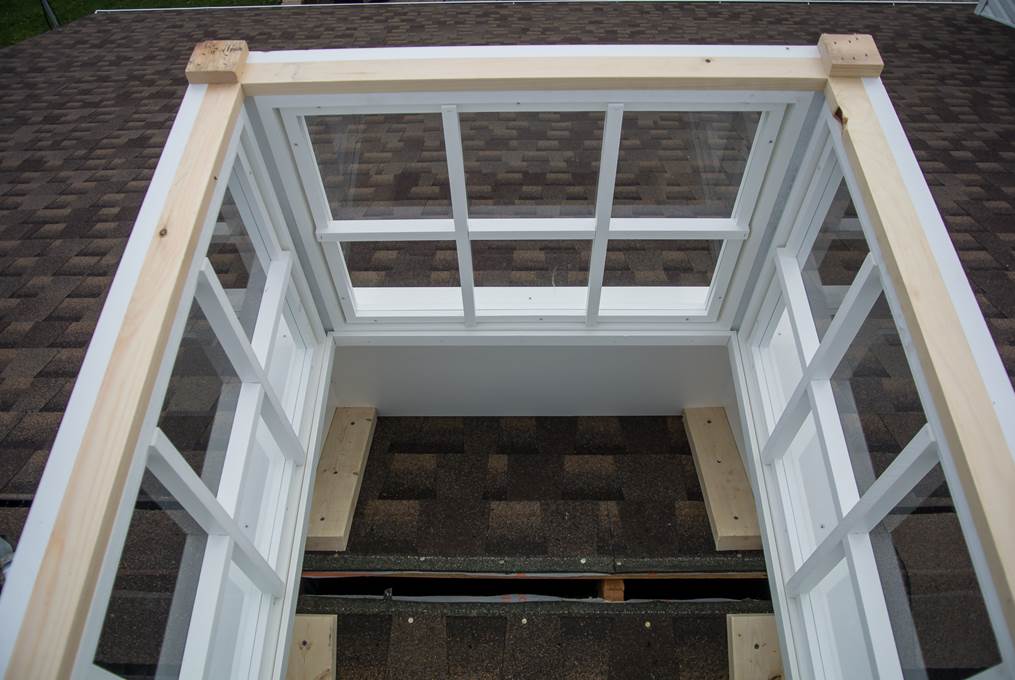
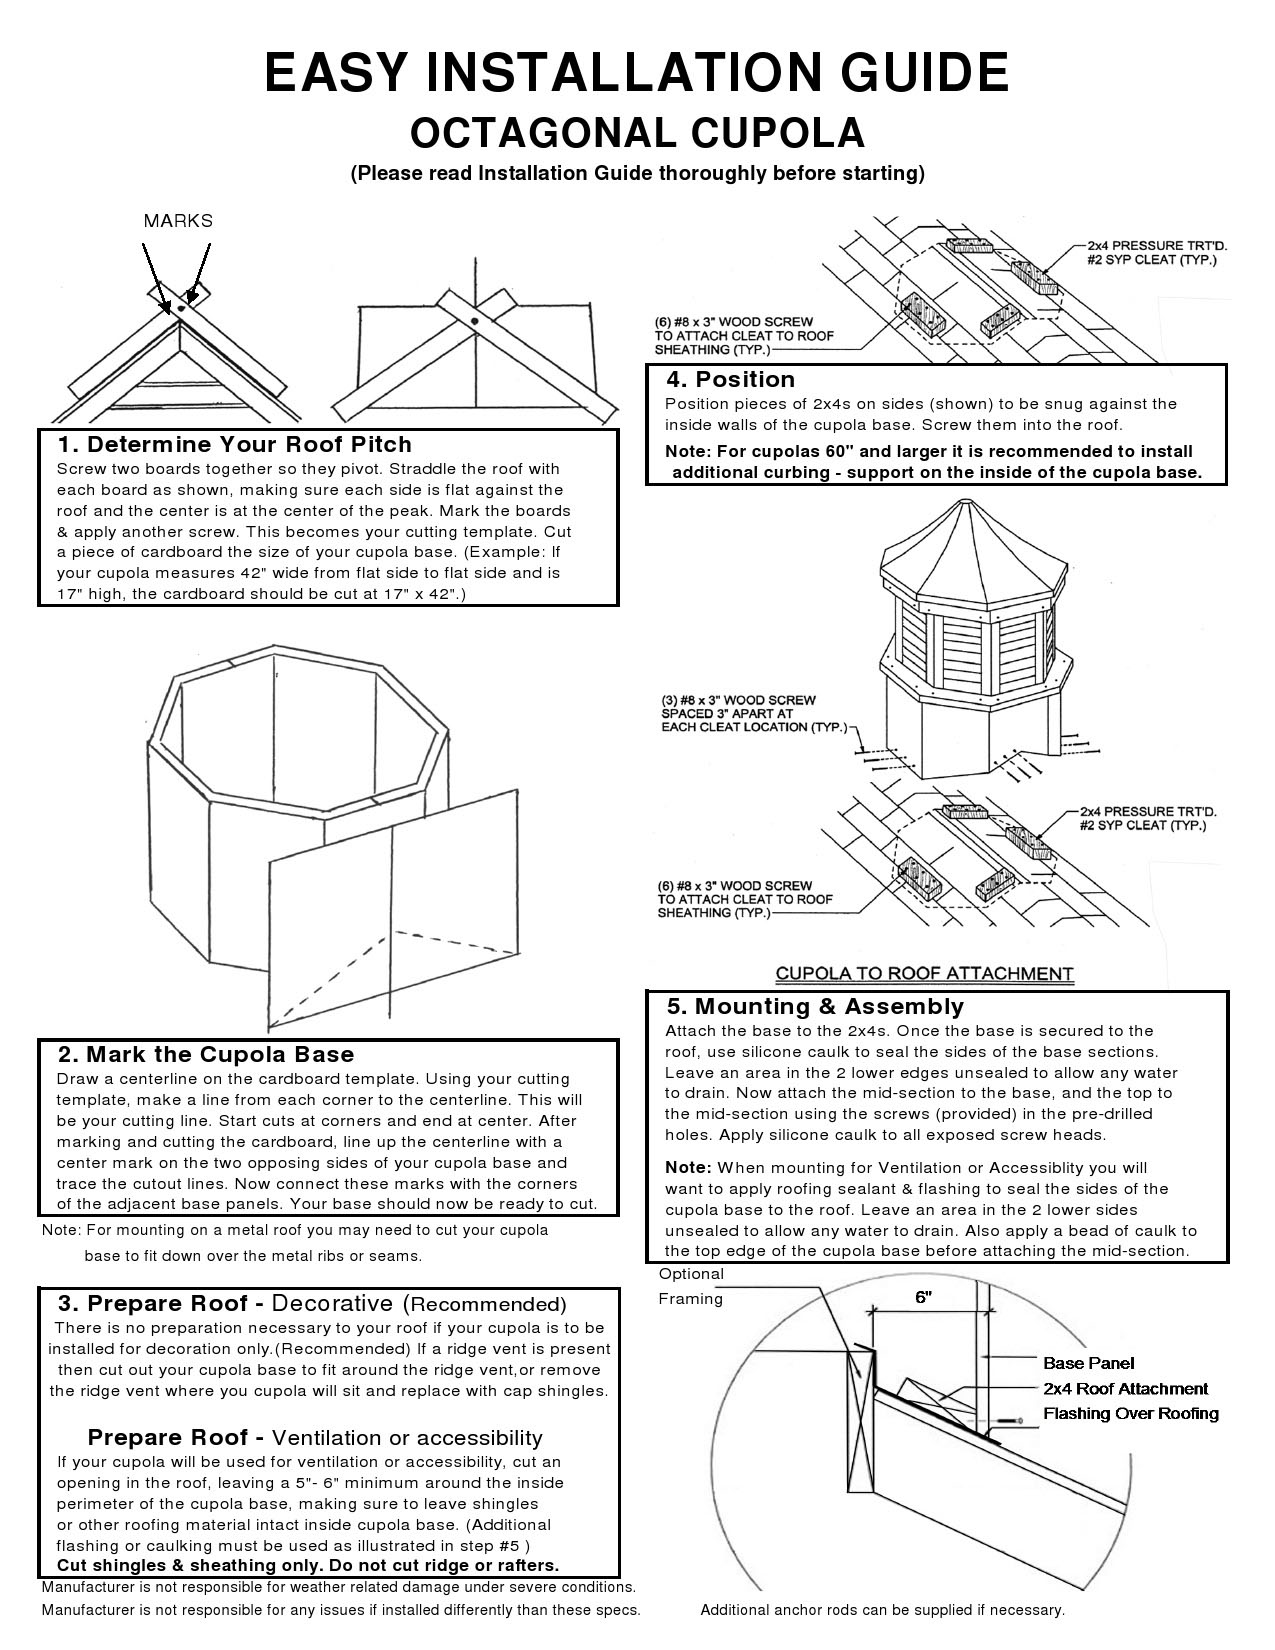
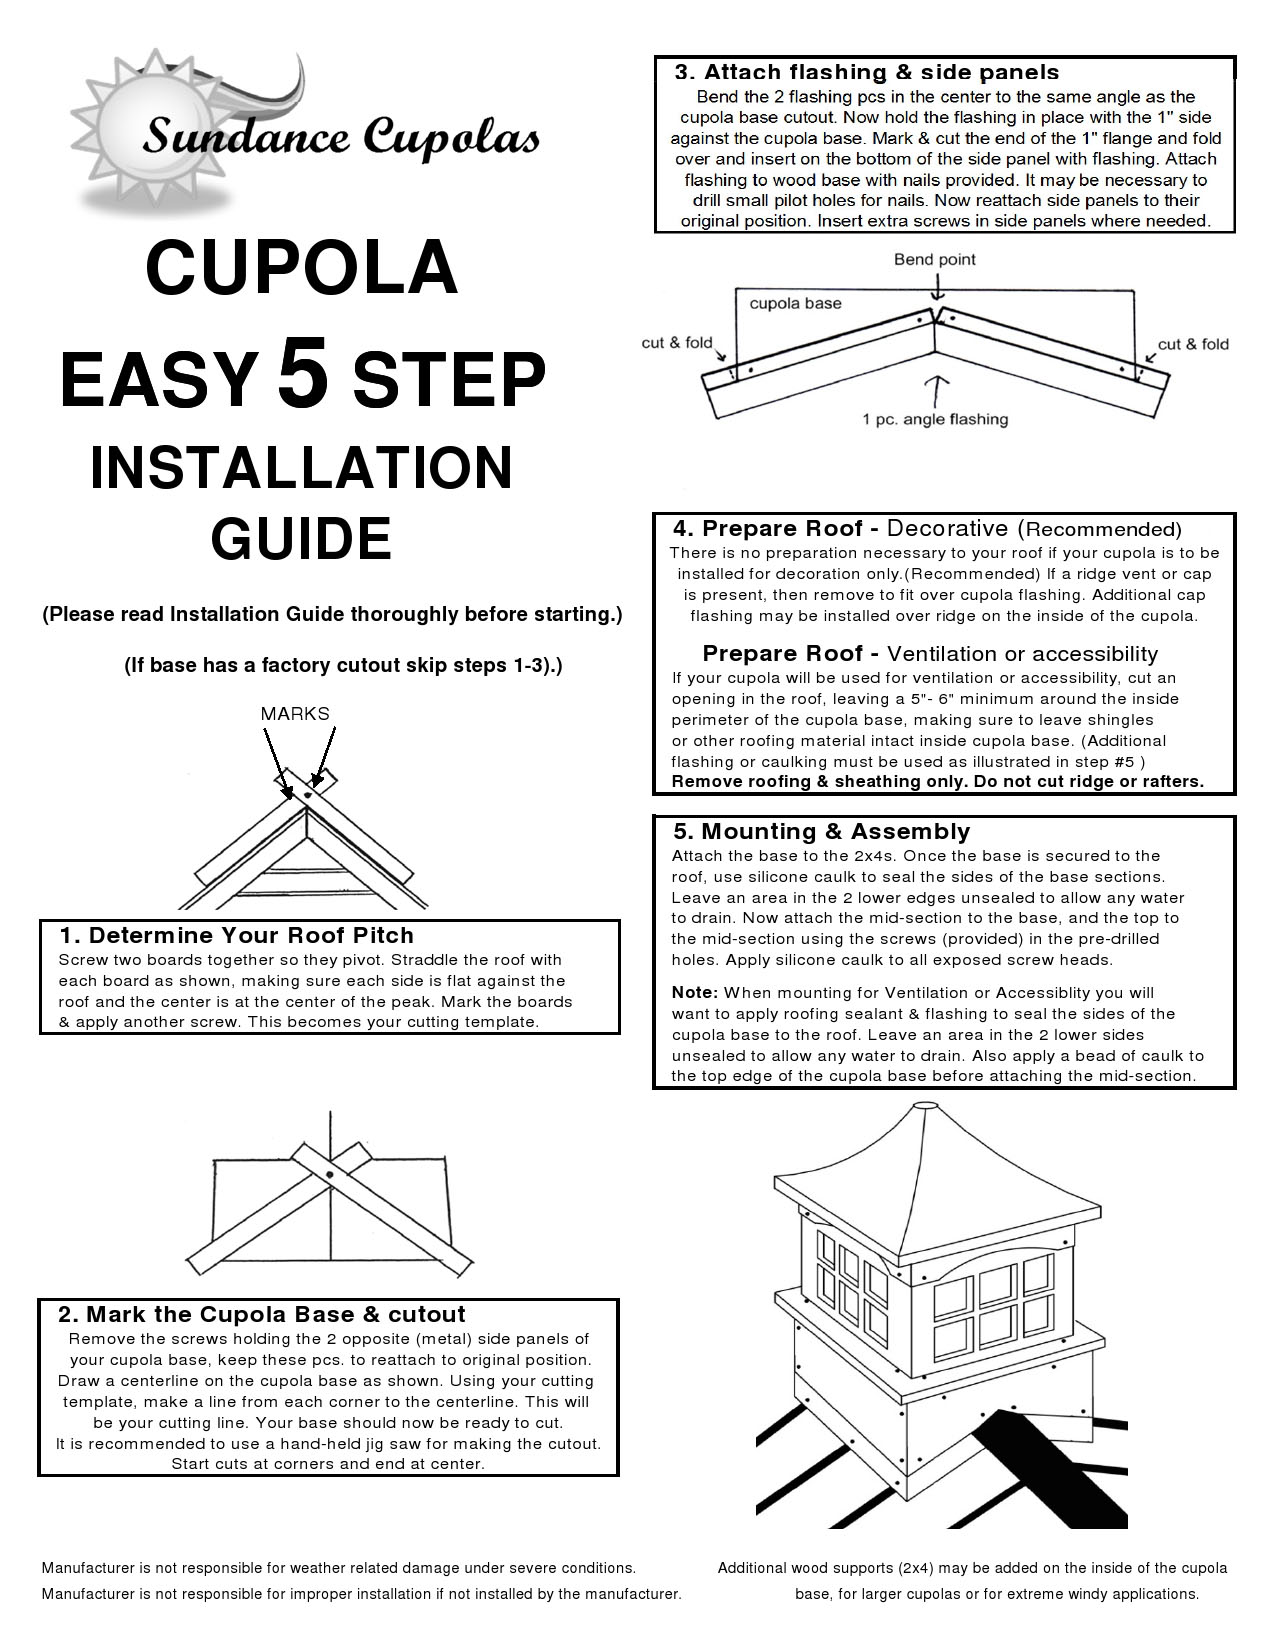
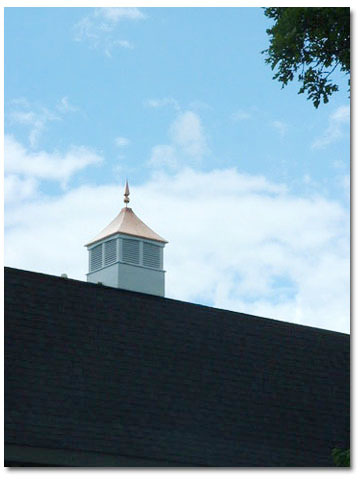
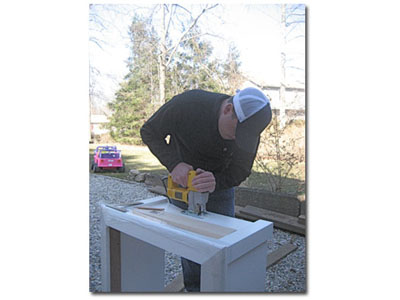
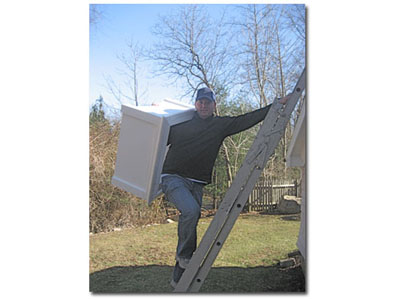
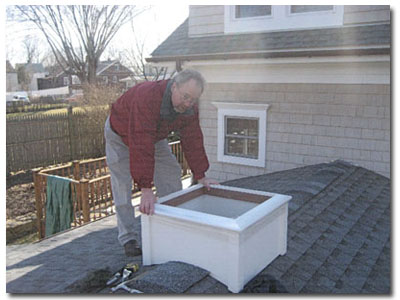
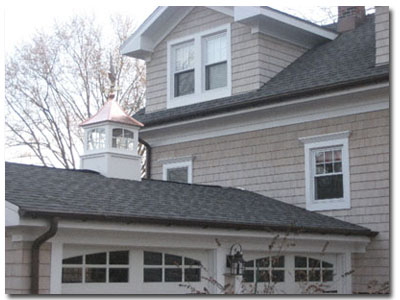
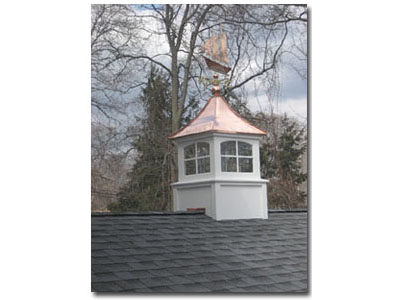
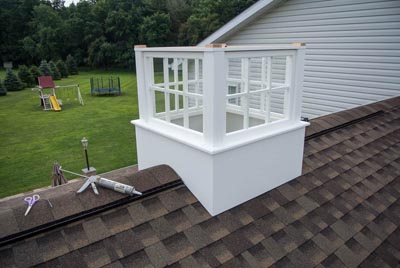
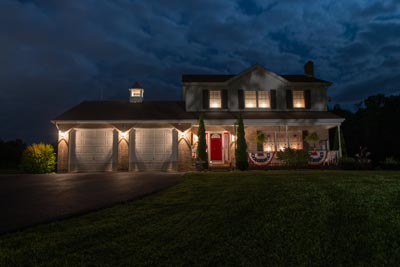
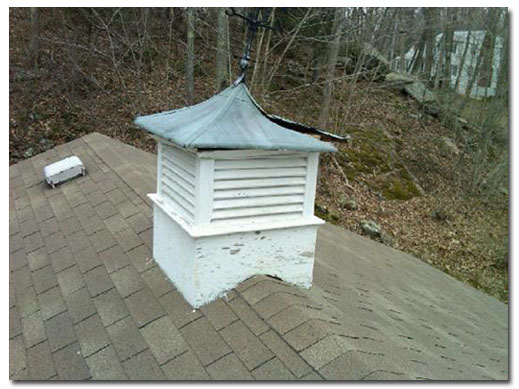
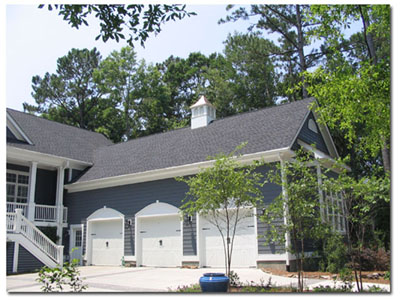
Cupola Installation Guide


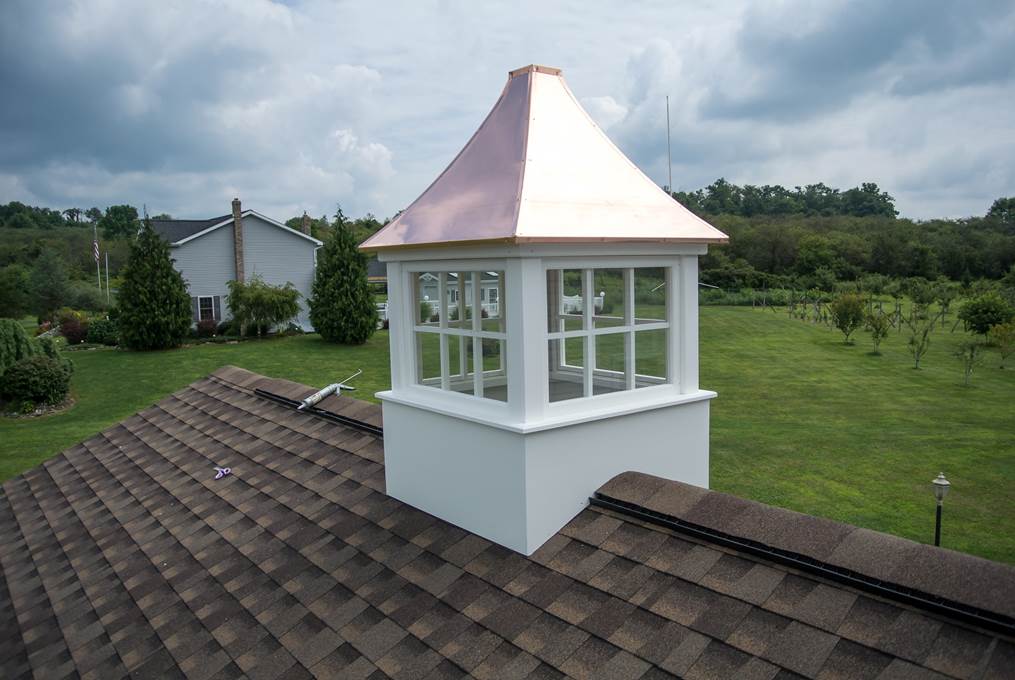
Your cupola will now provide you with maintenance free pleasure and efficient year around ventilation for many years to come.
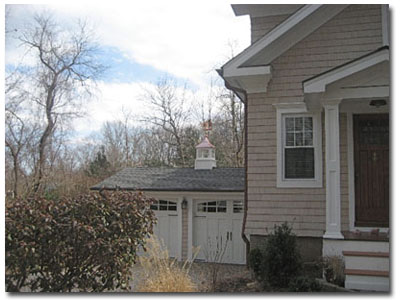
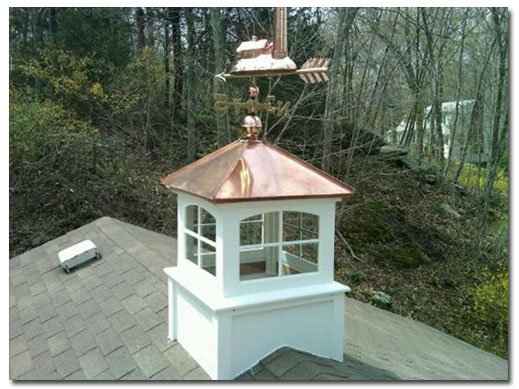
How to Install a Cupola with a Weathervane
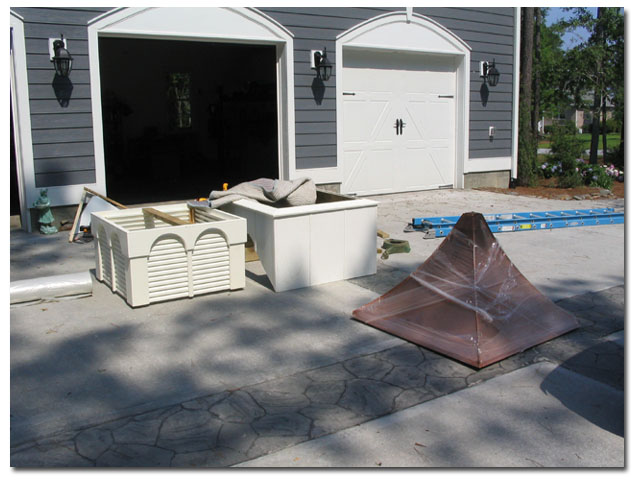
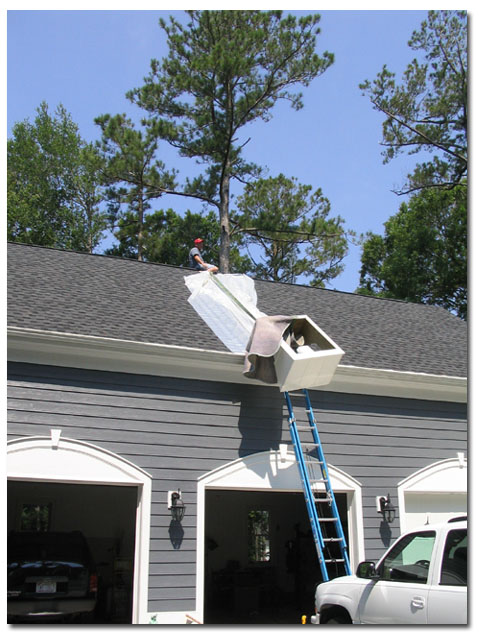
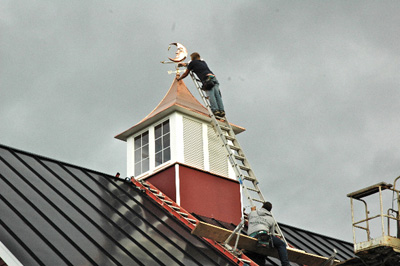
Installation of Finials and Roofcaps
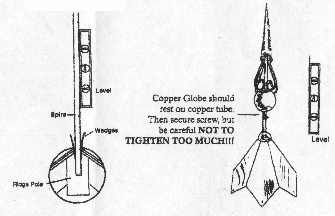
NOTES:
INSTALLATION OF TWO 48" BASE PAGODA CUPOLAS
Image 40
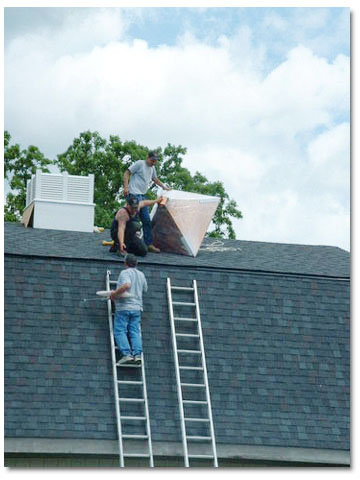
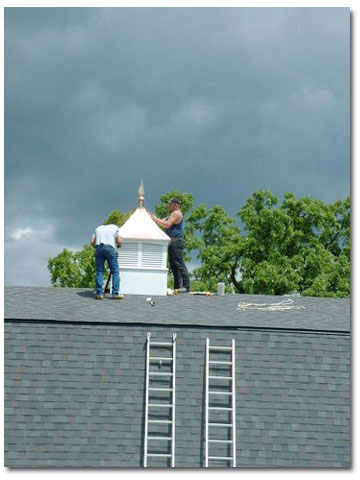
INSTALLATION OF TWO 48" BASE PAGODA CUPOLAS
Image 40
INSTALLATION OF A 28' BASE SAVANNAH
Image 40-A
INSTALLATION OF A 28' BASE SAVANNAH
Image 40-A
INSTALLATION OF A 60" PAGODA COLORED VINYL
Image 40-B

36' Carlisle on a 24' Roofline
Image 40-C


36' Carlisle on a 24' Roofline
Image 40-C
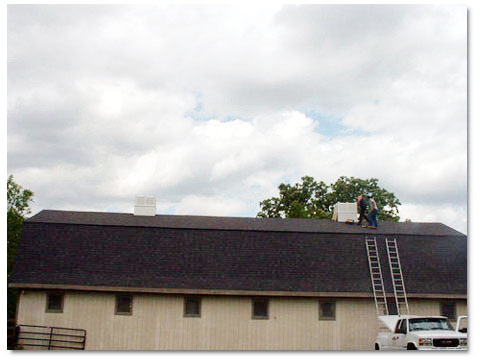
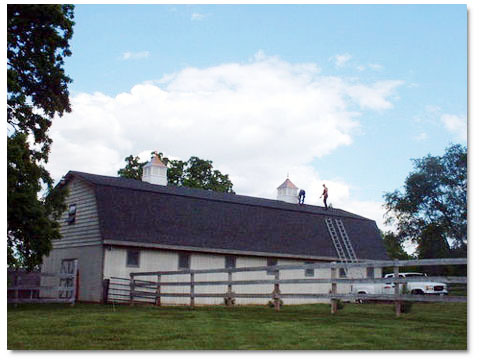
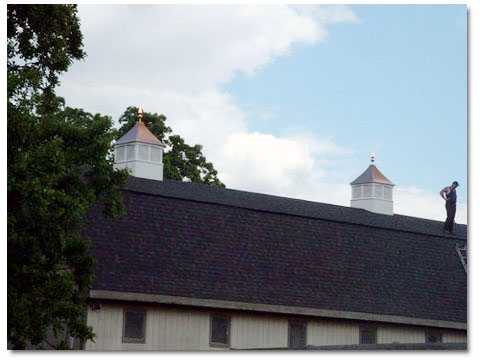
Replacement of two 36 inch base pine pagoda cupolas on a 48 ft barn
Image 41
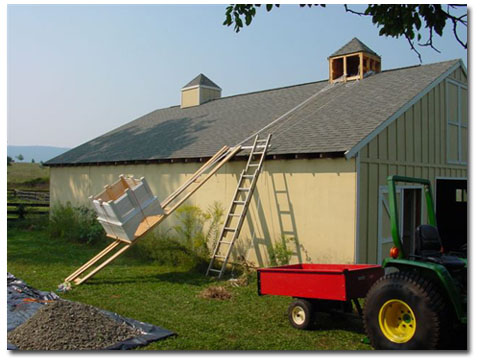
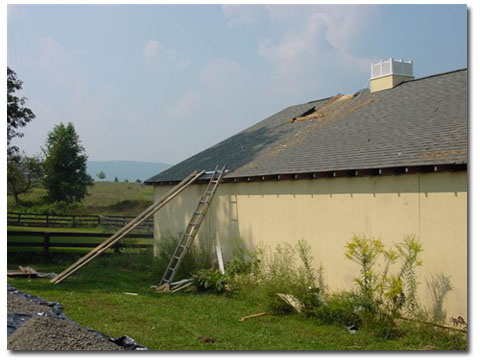
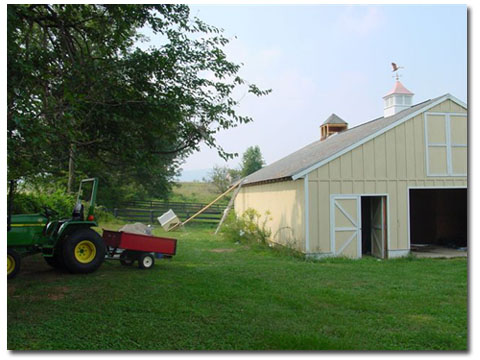
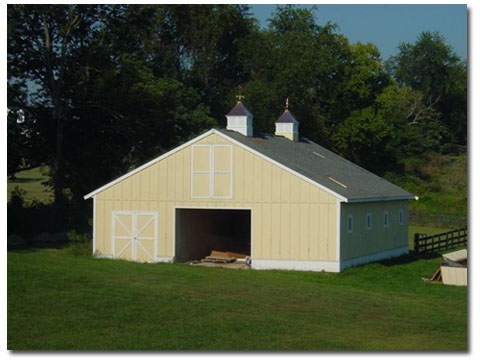
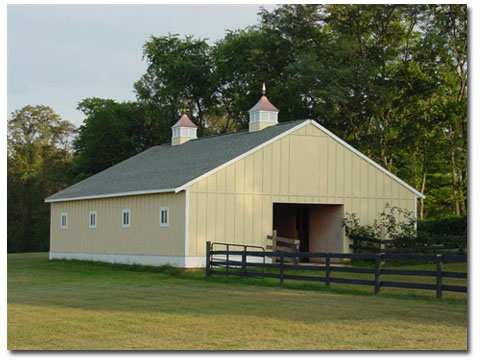
Image 41
28" Vinyl Boston with a 624P lighthouse
Image 41-A
28" Vinyl Boston with a 624P lighthouse
Image 41-A
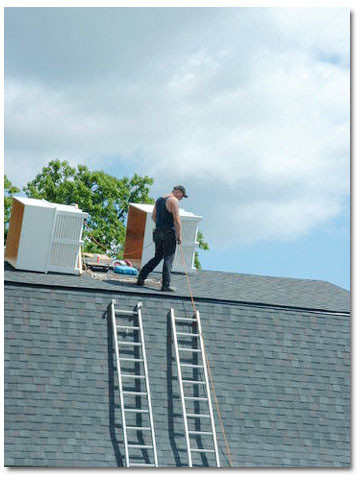
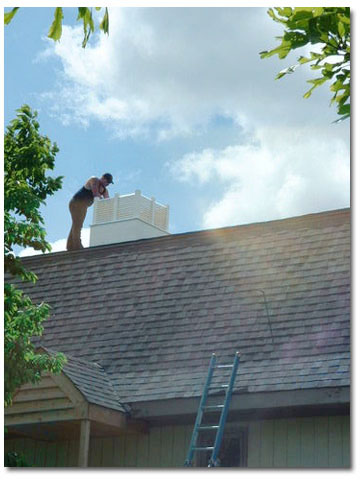
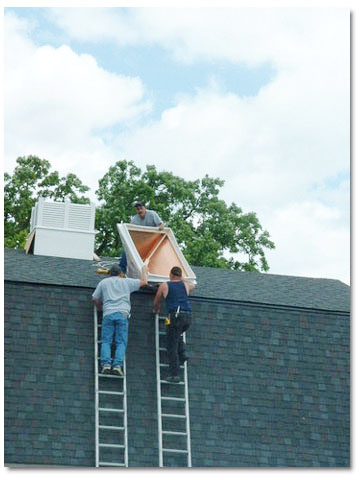
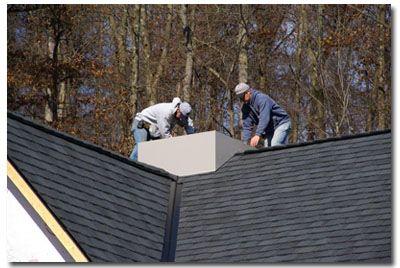
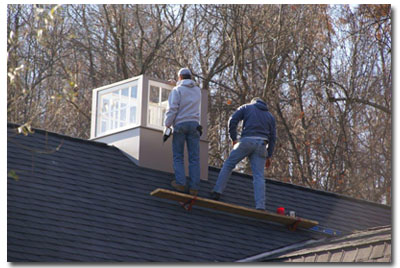
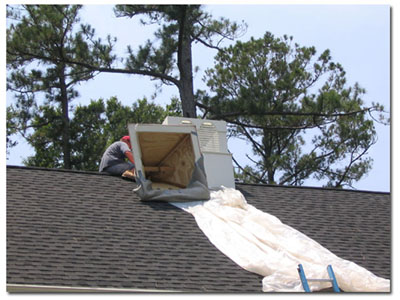
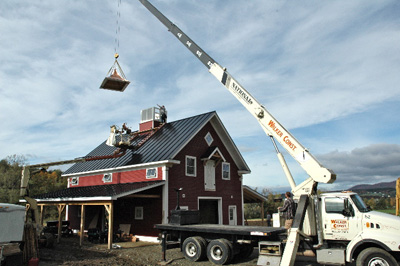
Installing a large cupola using a crane
Installation of 48"base and 72"base cupolas on a 150' barn
Inside each cupola is a 'BREEZA FAN' model VG36DM 36" with a direct drive - 1/2hp - 1ph - 825rpm - single phase - TRI-blade.
The outside shell of the fan housing is 41-1/8" which slides snuggly inside the 48" x 48" cupola with minimal fastening to be required [about 45 minutes labor].
Image 42
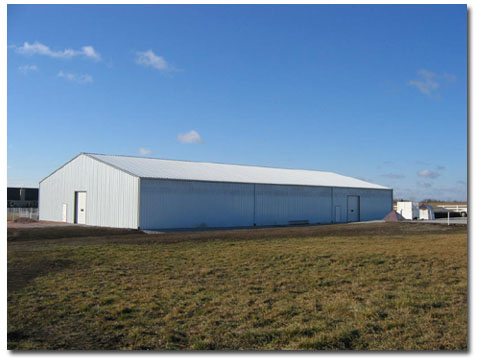
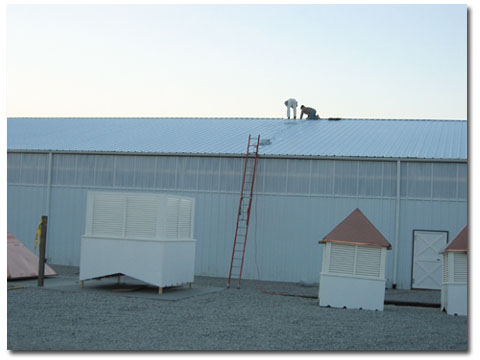
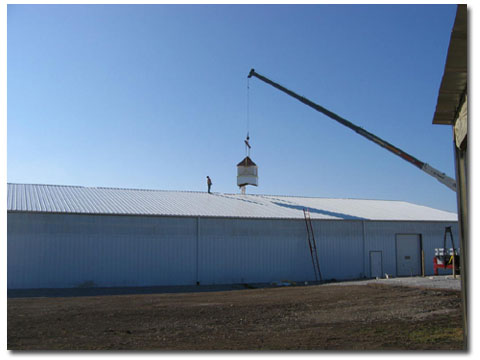
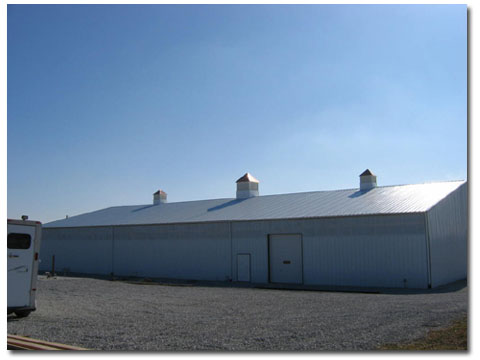
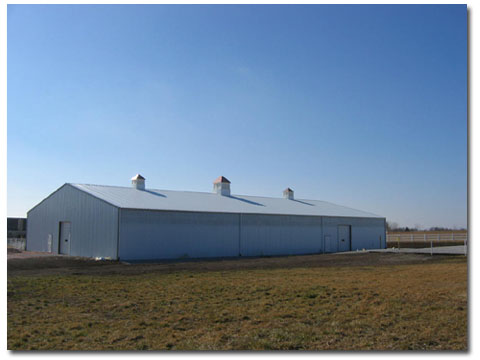
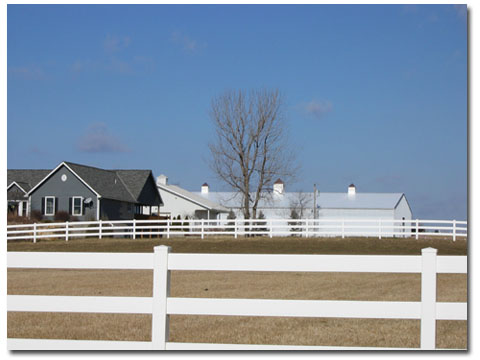
Image 42
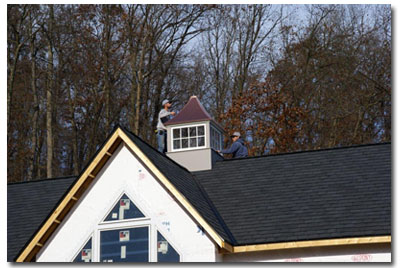
Installation of a 42' Hartford on a 48' roof
Image 43
Installation of a 42' Hartford on a 48' roof
Image 43
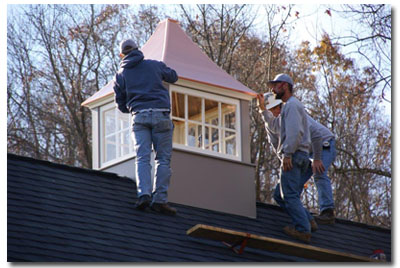
72" Pagoda w/ Windows
Image 44

72" Pagoda w/ Windows
Image 44
*** for questions or ordering ***
*** Call 1-888-899-8493 ***
*** ***
call for the lowest prices on the internet
all major credit cards accepted